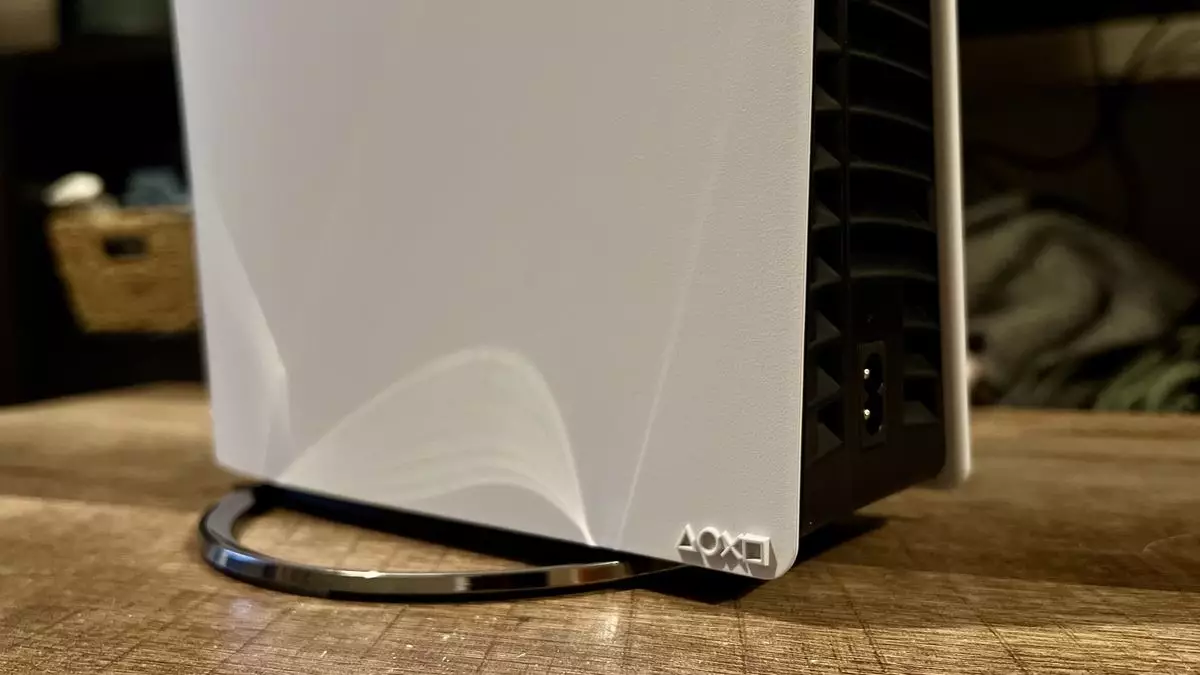
The arrival of the PlayStation 5 Pro marks a noteworthy advancement in gaming technology, offering enhanced graphics, faster load times, and improved performance. However, one aspect that has raised eyebrows among new and returning gamers alike is the absence of a vertical stand in the box. For those who prefer to showcase their console upright, understanding how to mount the new vertical stand correctly is imperative. The updated design offers significant advantages in stability and aesthetics compared to its predecessor, which often rendered consoles unsteady.
Maintaining a stable console setup is crucial not only for the longevity of the device but also for ensuring optimal performance. The original PS5 stand featured a simple, wedge-shaped design that often left the console susceptible to tipping over, especially in households where space is at a premium. In contrast, the new PS5 Pro vertical stand attaches directly to the console, providing a more secure base that prevents it from sliding or wobbling. This stability not only protects your investment but also enhances the visual appeal by creating a clean, modern setup.
When you initially unbox your PS5 Pro and its associated vertical stand, the components may appear confusing at first glance. Included in the stand’s package are the full ringed base, a separate adapter for the original PS5, and a mount screw for securing your console. It’s worth noting that if you own the PS5 Pro, you’ll be able to forgo the additional plastic adapter altogether, streamlining the setup process. Before you dive into installation, ensure that your console is completely powered off, and disconnect it from the power source to avoid any potential hazards.
To streamline the setup of your PS5 Pro vertical stand, follow these clear and concise steps:
1. **Prepare Your Console**: Ensure your PS5 Pro is turned off and unplugged. Locate the small black cap situated at the base of the console. This cap is essential for the setup, so set it aside for safekeeping. With a little wiggling, you can easily remove it.
2. **Familiarize with the Stand**: Upon opening the vertical stand package, examine the components. You will see the ringed base, the adapter (only needed for the original PS5), and the mounting screw.
3. **Cap Placement**: For the PS5 Pro, take the cap you removed earlier and insert it into the designated hole marked with a triangle and circle on the stand. This is crucial for ensuring the stand is fully attached.
4. **Align and Secure**: Position your PS5 Pro upside down, with the stand aligned beneath it. Match the holes accordingly—be mindful that the triangle/circle hole corresponds to the cap placement. Insert the mounting screw into the aligned hole and tighten it securely. A coin can be utilized for the final adjustments to ensure it’s firmly in place.
5. **Original PS5 Installation**: If you are using the stand with the original PS5, the process remains nearly identical. However, you will need to install the adapter first before aligning the stand. Make sure to secure it using the indicated hole marked by a square and cross.
After successfully mounting your PS5 Pro on its new vertical stand, take a moment to appreciate the balance and visual appeal it brings to your gaming environment. A secure console not only enhances your gaming experience but also conveys a sense of professionalism and care for your setup. Regularly check the screws and stability of the stand, especially if you frequently move your console or if it is in a busy environment.
The PS5 Pro vertical stand is a significant upgrade over the previous model, providing a better solution for stability and aesthetics. By following the proper installation steps and understanding the importance of a secure stand, gamers can ensure their consoles remain safe and visually striking in any gaming nook.


Leave a Reply